Serious Eye Candy

by abby on Wednesday, April 7, 2010


Lately I've been randomly window shopping around Etsy, particularly for new cushion covers. Thanks to the awesome rise of the Aussie dollar shopping online has never been SO MUCH FUN!! Or window shopping anyway.

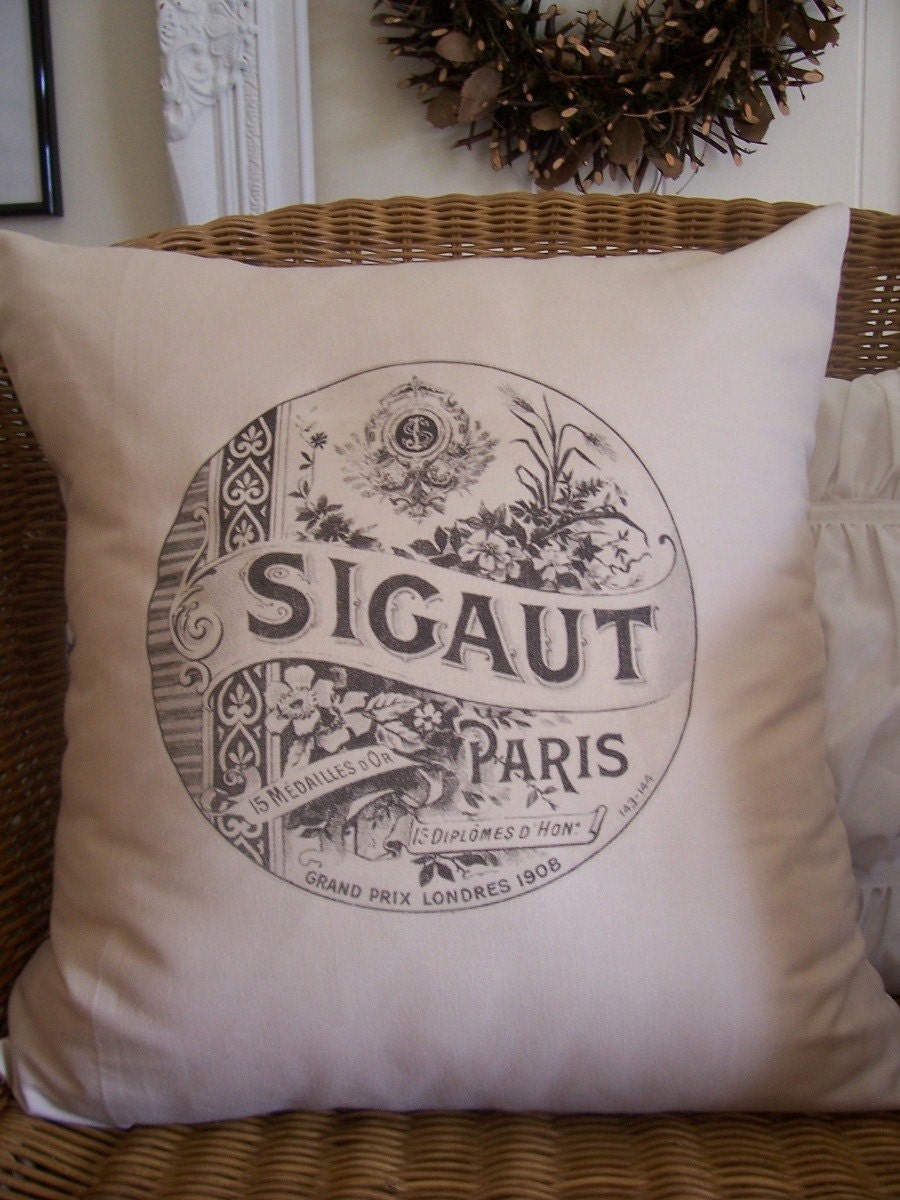
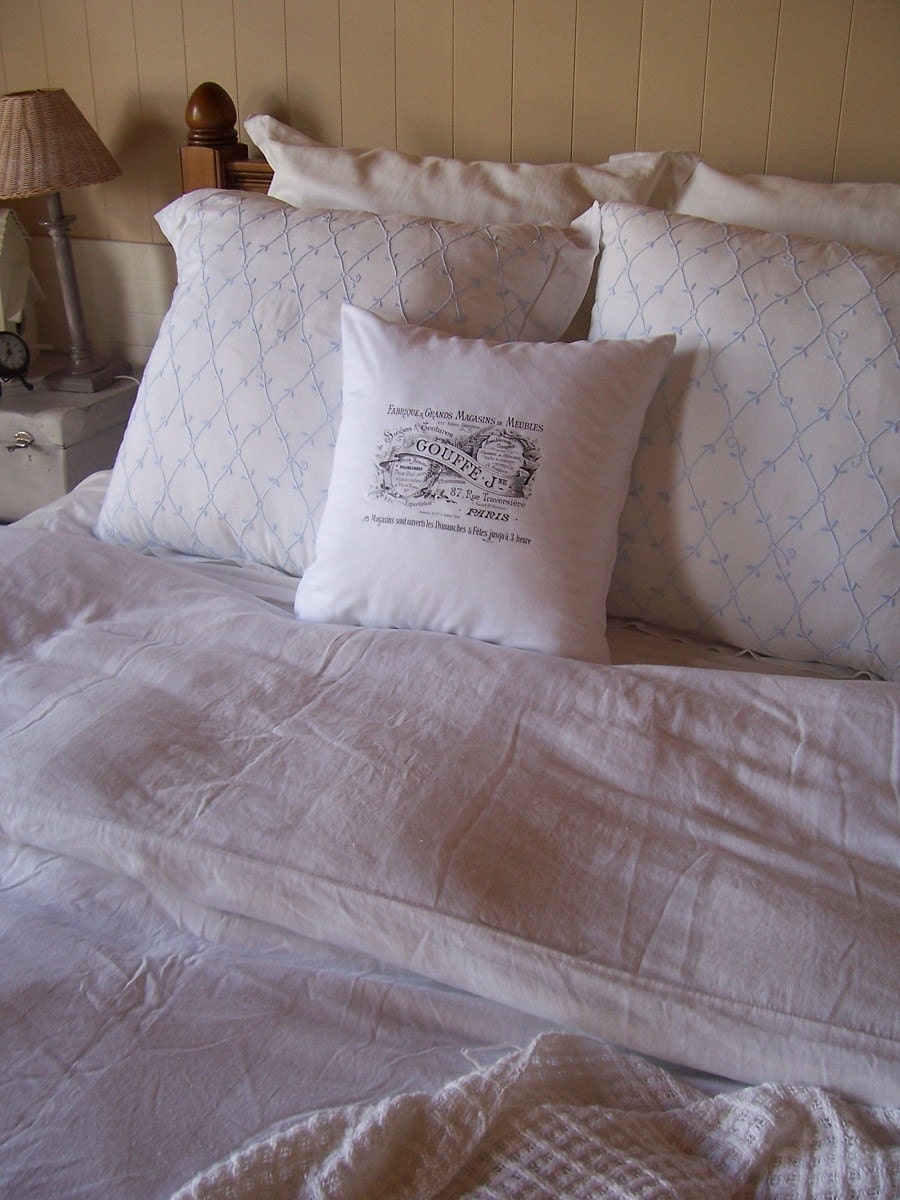
Check out these beautiful rustic cushion covers from Marley & Lockyer's Etsy Shop


So beautiful! I LOVE the rustic look of canvas with classic french images. I noticed that the seller was from Tasmania so I decided to check out her blog. Her blog is full of images that will definitely inspire your diy home projects so you should definitely check it out.

THEN I found an entry of hers introducing another blog full of images that got my heart racing....


It's given me the exact inspiration for my hutch! Yes I confess I've had my unpainted hutch sitting in our dining room for months just begging for a paint job. I realise now that part of the reason I've held off painting it for so long was because I wasn't sure how to sit in in the middle of a blank wall. Just the bit of direction I needed to motivate my lazy self. Hoping for a beautiful sunny weekend coming up so I can get started!

By the way the beautiful kitchen above belongs to Stina, so check out her blog to see the rest of her gorgeous home!


The End of My Sewing Career

by abby on Sunday, March 28, 2010


Well, this is pretty embarassing. I haven't blogged since the start of 2010! A big HUGE sorry for everybody that has been diligently checking up on our blog. Jona of course has the perfect reason for her absence - she gave birth to a gorgeous little boy!! She and the bub are both fine & well but will be out of action as they're getting to know each other better. As for myself.. well I did lose my laptop & internet for a month.. I did get a new job which needed abit more settling into than I ever thought was needed.. but even with all the valid excuses, yes I was also abit lazy too. So here I am back in the mode with my new kitchen curtains to share!

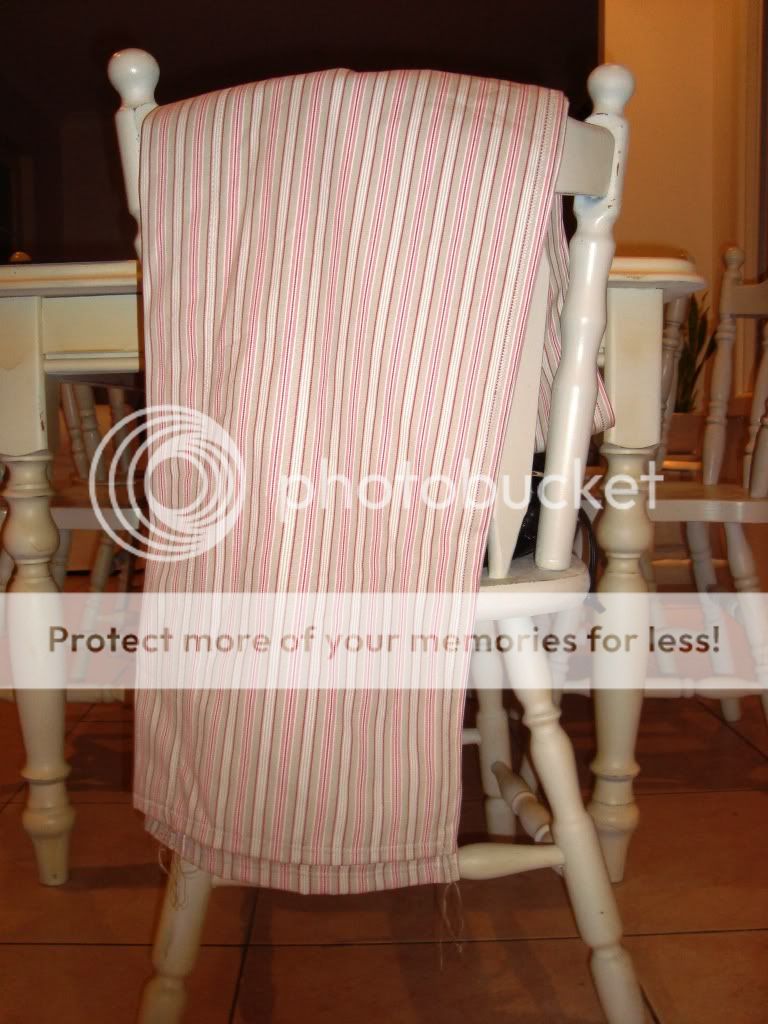
The fabric on the dining chair above is the one I chose from Ikea for the homemade kitchen curtain. So the inspiration for this idea came from a recent Ikea trip where I fell in love with a show case kitchen (I've tried to find pictures of this showcase kitchen online but I can't find it anywhere) that had a simple, flat blue striped curtain which was one quarter the length of the window height. Now I have absolutely ZERO textile experience - I've never used a sewing machine in my life or never had to measure and cut any kind of fabric before. But since it was just a flat curtain piece with no ruffles I decided to give it a go. How hard could it be?

So I ran over to Ikea and chose the Beskada curtain rod:
Then I went over to the fabric section. I had no idea that I had to actually cut the fabric myself?? So I tried to calculate it on my own while the unhelpful sales lady tried to explain things like allowance and multiplying the length by this and that and at the end of it all she basically said that maybe I should come back after I had properly calculated the length of material I needed. But since Ikea is a 40minute drive from my place there was no way I was doing that. So I told her that I think I would just rather fluke it and started cutting the fabric up. She just gave me a look and walked away!

Discouraging much? Nope I was still excited and determined to see that fabric up on the rod! I wish I could remember the measurements right now in but really I can never keep up with figures in my head. So onto the next step: actually sewing the fabric into a curtain!

I had to borrow my parent's sewing machine which nobody had used for a couple of years. Since it had only been used once before and since I've never seen one up close before I'm not too sure if it's just my parents' machine that seems abit fiddly to use. It took me ONE HOUR to setup the thread properly before I could start sewing. It then took me another half hour to pin the fabric up properly. So when I finally finally had the machine and fabric all ready to go I thought that I was on the home stretch. But for some reason it took another ONE & A HALF hours to actually get it all sewn up! I was actually sweating beads of sweat! Despite all the crooked lines and the slightly uneven finishing I was pretty proud of it in the end, but I definitely know now that there is no way I am meant to be a seamstress and that I will unfortunately never ever DIY anything involving fabric ever again.

So after all that you must wanna see what I actually got at the end of all that...


This is the before shot of our kitchen window with its boring vertical blinds. The kitchen was abit hard to get a shot of since our kitchen is pretty long and narrow.


The end result! Like I said before I am happy with the outcome but still not 100 percent satisfied, particularly with the colour. I'm thinking I need something abit darker to make it stand out abit more, the fabric from the Ikea showcase kitchen was a dark navy striped style.


Just on a side note, here is one of my favourite parts of the house. My breadbox, straight from the Reject Shop, was something I'd been looking for so I was so excited to find one for $18! It was also the first piece that I painted white :) The Leksvik hooks are another Ikea purchase, while the napkin holder was another bargain steal - online this pretty little thing was around $20+ but I found one at my local homewares store for $10! Love bargains! Underneath the Leksvik hooks is my wooden step stool which I tried to include in the picture but I just couldn't get the angle right.

Anyhoo I think that's it for tonight, gotta get started on the usual preparations for the coming week (folding clothes arghhhhhh) but I hope every has an awesome Easter break!

Till next time!


nursery - wall decor

by jona on Tuesday, February 2, 2010


so i've finally finished dressing up the nursery walls! yay!

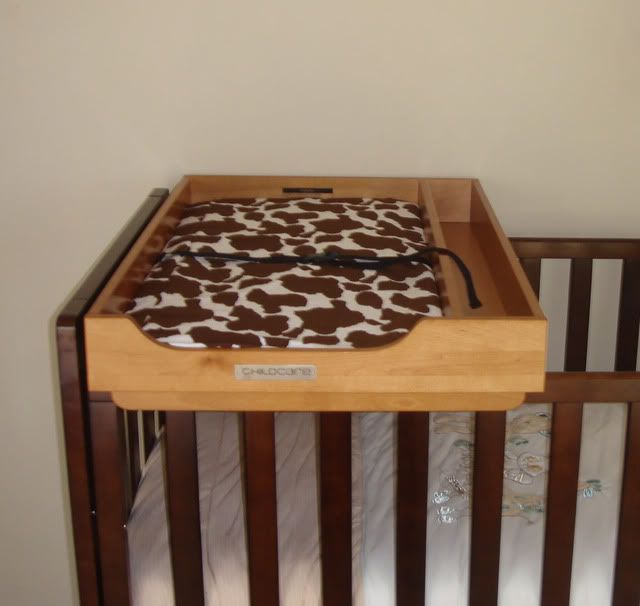
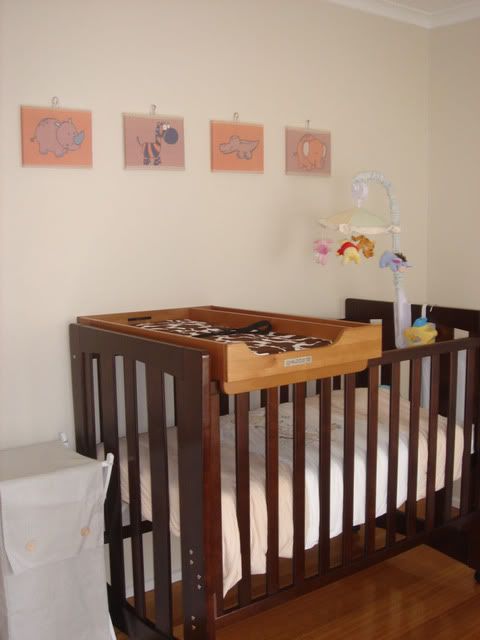
also, we purchased a change table top that goes on the cot (when baby isn't in the cot of course) and made a cover for it.. i thought this giraffe print is just adorable!


this is just great specially when we dont have the space for an actual change table. Initially, I was going to use the aneboda drawers as a change table but it is just way too slim and i can just see baby falling off quite easily.


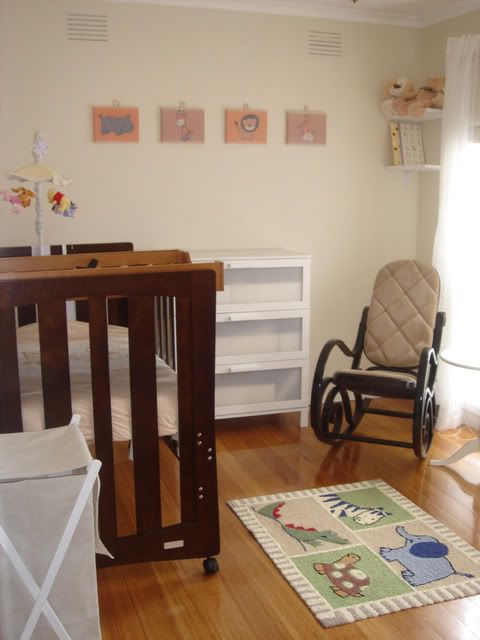
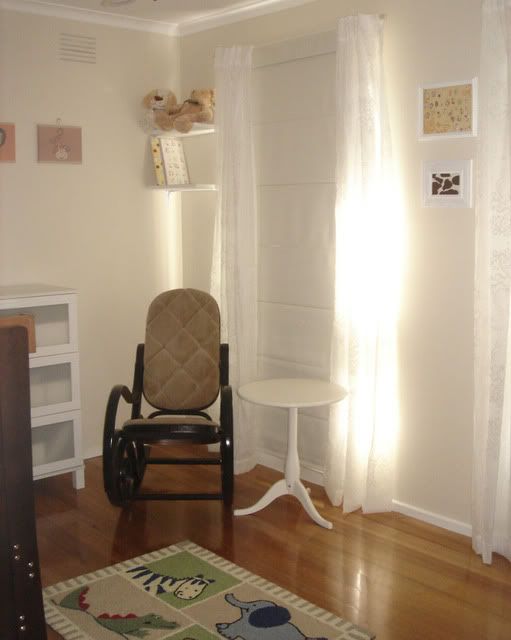
so without further ado.. the baby room:


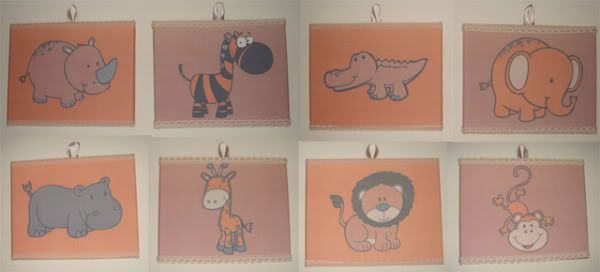
i have no idea why the animal prints appear blurry, i have taken gazillion of the same ones and theyre all blurry. so here's an upclose:
FYI i did the lacing to cover some of the background that didn't get printed - a4 paper was obviously too small :/


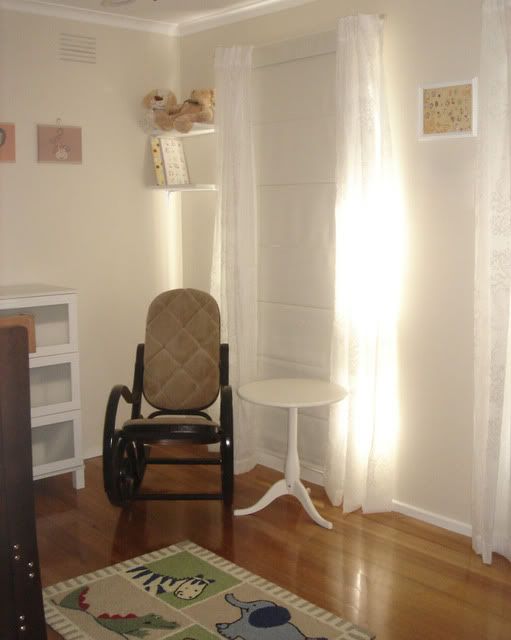
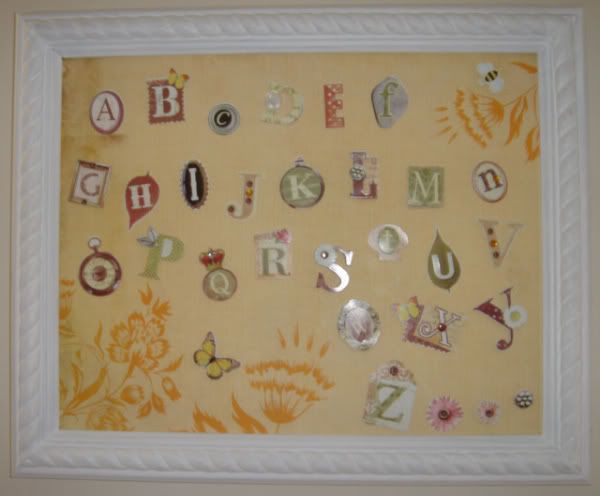
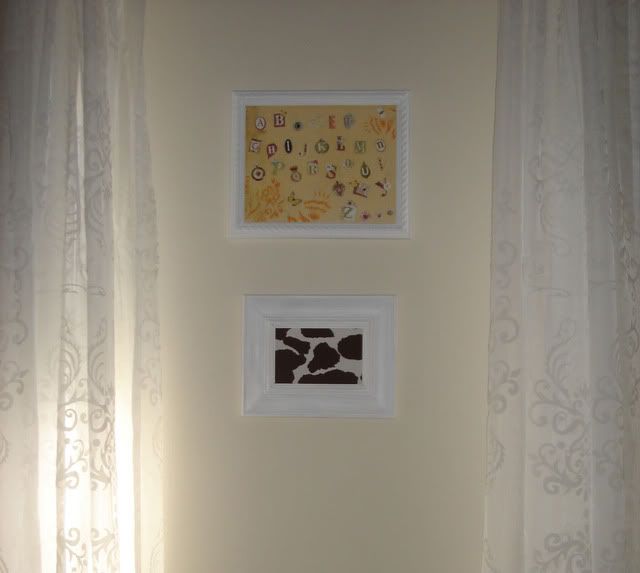
i also made a little alphabet frame decal to go in between the windows as the wall looked quite bare:


you really gotta see this in person though, it looks way better.


then i thought, hmmm something's missing.. so i framed some of the extra giraffe fabric :)


and that's all folks! :)

next on list? have baby! lol

i will now be spending my days playing cake mania until max or sierra arrives :)

till then! xx

nursery - done!

by jona on Wednesday, January 20, 2010


YAY!! nursery is finally done! well the big, main things anyway.. walls are still bare.. so i will be slowly dressing them up in the coming days/weeks.. depending on how i feel, which i hope is like today, very productive! it was like i just had a sudden burst of energy!

but for the mean time, i would like to show you some before and after photos :D

please note, not much diy'ing happened in this room.. only shelves and staining of rocking chair

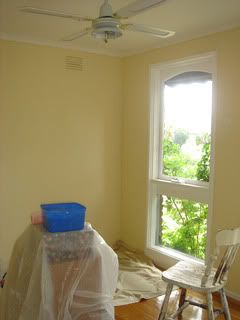
before:


after:


and that's about it with the nursery.. its a tiny room but cozy .. dont u think? hehe

next on the list:

- master bed! but can the bed frame come any slower!? feels like i been waiting forever! 5 more weeks i think, boooo! meaning i'm going to have to tackle this when baby is around. all good though, i always love a challenge :)

- lounge room is slowly slowly coming into place, i just have to now hang my frames (which im hoping to do tomorrow!) and paint, but hubby stretched a tendon in his shoulder so painting is postponed until further notice :(

i am hoping to post updates on the lounge quite soon.. so stay tuned! :)

till then! xx

even more exciting news!

by jona on Saturday, January 16, 2010


i got both cot and king mattress today!! i know! it was an awesome day lol

so stay tuned for the nursery update.. should be up sometime on the weekend or early next week.


and just quickly, how expensive are king sheets!? and not to mention quilt covers??!! i have been looking non stop for nice quality yet not over priced sheets and quilt covers.. cheapest i found was $60.. for a 250 thread count.. that any good? sorry i'm clueless

any suggestions as to where to find affordable manchester please do tell!!

till then!

im just so excited that i just have to share this!

by jona on Thursday, January 14, 2010


but first and foremost.. i hope you all had a blissful Christmas and a fun and exciting new year! xx
have we broken any of our new years resolutions yet? lol just teasin!
i dont have any this year.. i have been either too busy nesting.. or just resting haha

anyway, before i get sidetracked!


the news is!!...

cot is coming a week early!! YAY!

i get a call from baby cuddles today, informing me that cot is on the way and it'll come either tomorrow or Monday! YAY!!! which means i finally get to finish nursery!! YAY!

i just can't believe its a week early!! so it should be, right? i should've had it on the 4th!! but anyways, whats done is done.

also, more exciting news! hubby and i have been looking for a new bed since we found out we been sleeping on a double! we thought it was a queen! (i know, right? how did we manage that!?) i mean, our queen sheets not fitting properly should've given us a clue, you'd think...

so a couple of weeks ago, i dragged hubby to go look for a king bed.. we found a chiropractic mattress for a grand.. bargain right? and this beautiful king frame.. both $1800 in total.. i didn't realise it was going to be that much!! yikes! but its an investment i guess..

and then after i got a call from baby cuddles, i get a call from the bed place saying that our bed is ready to be delivered!! whoohoo! BUT frame will take around 4 - 6 weeks :( - theyre going to loan us a base while we wait.
its ok though.. as long as were out of that squashy, uncomfortable double bed!

what kind of frame are we getting? u ask
i've actually been googling a similar one but can't seem to find any :(
so i'm going to try and describe it..
it's timber with walnut finish.. i customised it so the legs are 15cm higher (from 15cm) and the headboard to be extra 15cm higher also.. which would mean the headboard would gain a total of 30cm.. making it 150cm tall! that's nearly as tall as me! haha
i wanted a real dramatic look to it so hopefully 150 is enough.. it should be though

initially, i was going to try and make the headboard myself (upholstered) but it was going to cost me more and not to mention the time and effort!

since, we're getting a new bed with a new frame.. i'm gonna have to go look at new bedroom furniture too.. :/ haha jk.. they can wait.. although, the plan was to get everything with a budget of 2g.. but i went overboard :/

so fingers crossed, bargains aren't hard to find like they have been for the past two months! :(

anyhoo its nearly 12am and i still gotta play legends of zelda on ds lol

till then!

Seasons Greetings . . . With Cashew Tarts

by abby on Sunday, January 3, 2010


Wow I haven't blogged since last year! With all the crazy happenings that the holiday fever seems to make I have been officially in holiday mood - no work, no emails, no worries has made me a happy little vegimite for the past couple of weeks. But yes reality hits unfortunately and I have to go back to work tomorrow...

So how was your Christmas and NYE celebrations? Hope you had the best time ever with all your special ones close by! My Christmas and NYE was spent with family - a nice quiet getaway with my immediate family to Port Stephens and a big old fashioned Christmas day with my larger extended family. Sorry not too many pics were taken this season, the weather was abit gloomy so it made me abit lazy with getting the camera out.

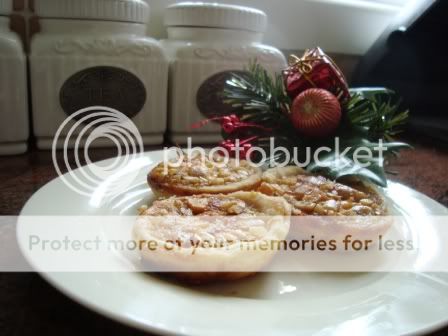
In one of my old posts I talked about how some of my Christmas gifts were going to be DIY. I decided to go for boxes filled with Cashew Tarts and I thought I'd post up the recipe.


Makes: 24 tarts

Crust Ingredients:
  • 2 cups flour
  • 2 1/1 tablespoons sugar
  • 1/4 tsp baking powder
  • 1/4 tsp salt
  • 1/2 cup butter
  • 1 egg yolk, slightly beaten
  • 1 tblsp lemon juice
  • 6 tblsp iced water
Cashew Filling:
  • 3 eggs
  • 1 cup maple syrup
  • 2 tblsp melted butter
  • 1 tsp vanilla essence
  • 150g chopped cashew nuts

Steps:
  1. For the crust: sift flour, sugar, baking powder and salt in a bowl. Add butter until mixture looks like coarse breadcrumbs. Add egg yolk and lemon juice. Blend in 1 tablespoon water at a time until the dough can be formed into a ball. Wrap in waxed paper with abit of flour and chill in the fridge for 30mins.

  2. For the filling: combine all the filling ingredients and set aside.

  3. Preheat oven to 180 degrees celsius. After crust has been chilled, roll out dough on a floured surface until it is 3mm thick. Grease mold (I used a muffin tray) and cut out circles to fill the base of each mold (I used a wineglass for cutting circles).

  4. Pour about 1 tablespoon of filling into each mold. Don't overfill the crust since it will spill out! Bake for 20-25 minutes or until crust is light brown. Let cool and store in an air tight container if you're not planning to eat immediately.

That's it! I made about 96 of these tarts and the house smelt so gooood for about a week. I had to keep on taste testing as I went along to make sure each batch was fine so that's probably the only hard thing about making these - they're too good to pass up!

Related Posts with Thumbnails