quick update on master bed pt. 2

by jona on Sunday, July 25, 2010


howdy everyone!
first of all, apologies for the slackness.. it has been awhile since abby or i have posted anything. like everything else, i would have to blame this on the weather.. the cold not to mention the actual virus 'cold', haven't been helping me be motivated. also, i have found myself a new job :D hoorah! its only part time - two days a week, 5 hours a day.. at a graphics firm, which is my ultimate dream industry to work at.. i definitely couldn't have landed the job if it wasn't for my good friend melissa who has put in a good word to her boss :D
so in between taking care of my lil munchkin max and working and studying (yes, forgot to mention im also doing a course in graphics part time), this leaves little time with diy'ing :(

anyhoo! so i went ahead with sydney's as they have given me a very good price with my furniture but it also came with a headache as they have given the tables the wrong stain and wrong legs :( .. im willing to put up with the legs as it isn't that obvious but the stain i couldnt let go.. it was orange! :/
so i went in there again today to see the re-stained job.. its no where close to what i want it to be.. but its much better. I don't have the energy to convince them they need to redo the stain again so i would have to do the re-staining myself if needed :/ but hopefully once furniture is next to my bedhead it wont look too bad.

so finger's crossed people!

till then!

Autumn Country Market

by abby on Saturday, May 1, 2010


Can you guess how excited I was when I saw these banners!! I nearly fell out of the car (SERIOUSLY) in my hurry to see what kind of treasures were waiting for me. This little road trip to the beautiful towns up in the mountains (Leura and Wentworth Falls in particular) was done last Anzac Monday.


Couldn't have asked for a better way to spend the last day of the long weekend! Treasure hunting with autumn leaves everywhere along with much needed stop overs at cozy warm cafes, old fashioned candy stores, CHOCOLATE bars... ahhh the life!


But I guess you really can't please EVERYONE...


Anyhoo better get on with the goods. What exactly did end up coming home with us? Unfortunately we ran into a little problem: everything was waaaay over priced! Of course these places were for serious professional antique hunters. For example that framed cafe print above is almost too beautiful for words but as you can see the price tag is at $229. So sadly we had to pass on many many many wares, but the good news is we still found treasure!


Our new beautiful kitchen clock is - I think - a bargain at $25 (or is this only a bargain compared to $229 framed prints??)


Framed Monet prints at $5 each! Yep definitely more sweets to add to my frame collection. And today I found the perfect mistint can of duck egg blue to colour up the frames:


So keep an eye out for when these goodies are up and painted, hopefully by next week the paint gun parts will arrive and I will finally have more pieces to show.

Happy Saturday lovelies, let's make the rest of this weekend count!


quick update on master bed

by jona on Saturday, April 17, 2010


before i blab on about the master bed, i would like to say a big congratulations to bernadette and khristian on the birth of their baby boy Alexander! well done guys!

more little people!! yay!! hehehe


on my last post, i mentioned something about doing white for most of the furniture. like most rooms in my house, i have changed my mind.. again.. and decided to just do dark and use white for accessories.

i have been looking everywhere online (because i am too lazy to go anywhere with max) for bedside tables that are atleast 70cm high, but could only find 67cm ones from ikea that is within my budget and also goes with the bed frame.


and dresser

the only negative thing about this is we would need my dad's van to get all these to the house and aaron now refuses to drive it as it is soooo unroadworthy!

feeling forced and desperate, i went out with max yesterday and drove along old geelong road and stopped at the first furniture shop i saw, sydney's furniture . there i spoke to one of the sales guys and told them my 'dilemma'.. they dont have any bedside tables that are 70cm high in the shop BUT they might be able to custom make it.. 'how much' i asked with no enthusiasm as i already knew this was going to break my bank.. but i was quite surprised when he told me his price.. no it wasn't my usual bargain find but knowing the average price everywhere else, i thought that was quite good seeing as i was going to get exactly what i wanted.. they can also custom make my dresser!

SO! i'm thinking this design for both bedside and dresser


i should be getting a call tomorrow from them with a quote.. fingers crossed it is within the budget!!


till then mateys! xx

hopped back on the diy wagon :)

by jona on Wednesday, April 14, 2010


g'day everyone!

apologies for taking awhile to blog again. been quite chaotic in my household, with the new addition to the family:

max aaron


max is 9 weeks old and a very alert baby! he's a good sleeper at night so i can't complain there.. but he's so alert, he refuses to sleep during the day.. making it quite hard for mummy to do anything!

so in between the feeding and trying to get this lil guy to sleep, i shall endeavour to finish the master bed.

not sure if you guys remember but we upgraded from queen to king a couple of months back.

here's a before pic of our old bed, quite horrendous i know lol.. also, apologies for the mess.. have no idea why i didn't bother tidying up.


and here are the after pics:


and here's the rest of the room:


as you can see, max have set up shop on this side of the room. i guess until he does atleast 5 hours sleep this will be known as his side.. who am i kidding, the whole room is max's room!

the doors on either sides are our built in robes and our ensuite behind the door facing us. i would luv to get rid of these robes making way for a bigger ensuite and use max's room (which is located next door behind where our dressing table is) as a walk in wardrobe. ah to dream!

so back to reality! i'm not even sure if this is going to work but i'm thinking white for most furniture....

i've tried looking for inspiration on the net but only found a few:


fingers crossed it'll work for me! :)

so over the next couple of days.. or weeks lol.. i'm going to paint the bedside tables and the dresser white (taking out the mirror bit, which hopefully is do-able).. and see how that pans out :)

so stay tuned! :D

till then mateys! xx

The Frame Collection

by abby on Saturday, April 10, 2010


You may remember me sharing about the golden ornate frames that I painted white last year. Recently Jona asked me about whatever happened to them so I thought I'd share the finished pieces along with my growing frame collection.

You'll have to excuse the lighting, it's been a pretty cloudy Saturday morning down here!

Nothing like a fresh coat of white paint to make things look new! If you are wondering why these frames are lying on our coffee table instead of hanging up on a wall.. you'll find out all about that in a moment. Meanwhile these beautiful ones came home with me after a recent trip to the Salvos:

I love the look of the ornate frames! I know gold is abit old school but they do have a certain aged look about them already. So I am still trying to decide whether or not to paint these or not. I know that the prints will be updated though so still trying to find them. The little oval frame is cute, only 50cents! I wish I found a larger one though.

And the following two frames were collected on another treasure hunt in a local homewares store:

Confession time: even though I have been steadily building up my frame collection, there is actually only ONE item hung up on a wall in our entire house - a beautiful clock given to me by my mother in law. This is because I'm abit hesitant to hang anything up - it seems too permanent once it's up there! What if it's crooked?What if it would look better on another wall? What if the hanging glue starts making a sticky mark on the walls? Hmmm.. I'm sure I'll get over this fear one day. In the mean time I hope you enjoyed seeing the frames and if you have any tips on how to hang frames up properly please let me know :)

Have a great weekend!


Serious Eye Candy

by abby on Wednesday, April 7, 2010


Lately I've been randomly window shopping around Etsy, particularly for new cushion covers. Thanks to the awesome rise of the Aussie dollar shopping online has never been SO MUCH FUN!! Or window shopping anyway.

Check out these beautiful rustic cushion covers from Marley & Lockyer's Etsy Shop


So beautiful! I LOVE the rustic look of canvas with classic french images. I noticed that the seller was from Tasmania so I decided to check out her blog. Her blog is full of images that will definitely inspire your diy home projects so you should definitely check it out.

THEN I found an entry of hers introducing another blog full of images that got my heart racing....


It's given me the exact inspiration for my hutch! Yes I confess I've had my unpainted hutch sitting in our dining room for months just begging for a paint job. I realise now that part of the reason I've held off painting it for so long was because I wasn't sure how to sit in in the middle of a blank wall. Just the bit of direction I needed to motivate my lazy self. Hoping for a beautiful sunny weekend coming up so I can get started!

By the way the beautiful kitchen above belongs to Stina, so check out her blog to see the rest of her gorgeous home!


The End of My Sewing Career

by abby on Sunday, March 28, 2010


Well, this is pretty embarassing. I haven't blogged since the start of 2010! A big HUGE sorry for everybody that has been diligently checking up on our blog. Jona of course has the perfect reason for her absence - she gave birth to a gorgeous little boy!! She and the bub are both fine & well but will be out of action as they're getting to know each other better. As for myself.. well I did lose my laptop & internet for a month.. I did get a new job which needed abit more settling into than I ever thought was needed.. but even with all the valid excuses, yes I was also abit lazy too. So here I am back in the mode with my new kitchen curtains to share!

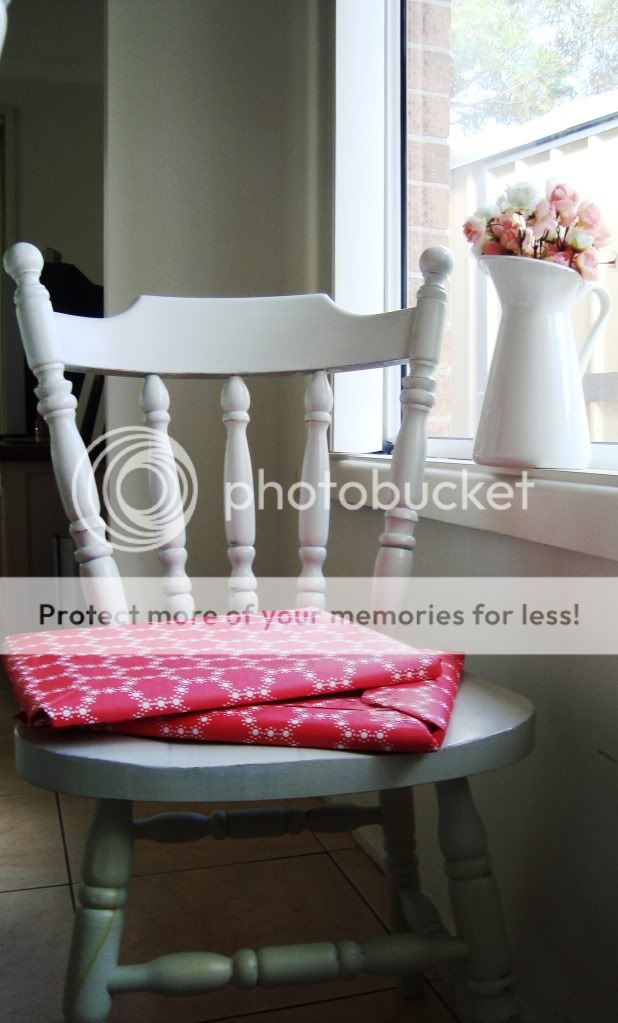
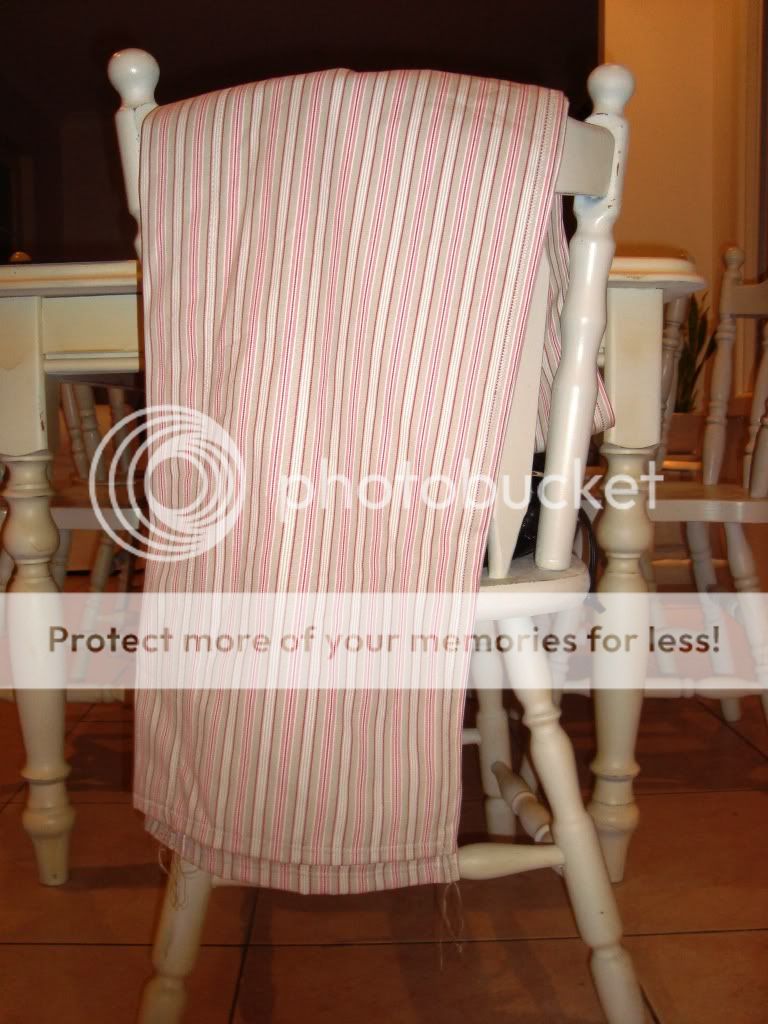
The fabric on the dining chair above is the one I chose from Ikea for the homemade kitchen curtain. So the inspiration for this idea came from a recent Ikea trip where I fell in love with a show case kitchen (I've tried to find pictures of this showcase kitchen online but I can't find it anywhere) that had a simple, flat blue striped curtain which was one quarter the length of the window height. Now I have absolutely ZERO textile experience - I've never used a sewing machine in my life or never had to measure and cut any kind of fabric before. But since it was just a flat curtain piece with no ruffles I decided to give it a go. How hard could it be?

So I ran over to Ikea and chose the Beskada curtain rod:
Then I went over to the fabric section. I had no idea that I had to actually cut the fabric myself?? So I tried to calculate it on my own while the unhelpful sales lady tried to explain things like allowance and multiplying the length by this and that and at the end of it all she basically said that maybe I should come back after I had properly calculated the length of material I needed. But since Ikea is a 40minute drive from my place there was no way I was doing that. So I told her that I think I would just rather fluke it and started cutting the fabric up. She just gave me a look and walked away!

Discouraging much? Nope I was still excited and determined to see that fabric up on the rod! I wish I could remember the measurements right now in but really I can never keep up with figures in my head. So onto the next step: actually sewing the fabric into a curtain!

I had to borrow my parent's sewing machine which nobody had used for a couple of years. Since it had only been used once before and since I've never seen one up close before I'm not too sure if it's just my parents' machine that seems abit fiddly to use. It took me ONE HOUR to setup the thread properly before I could start sewing. It then took me another half hour to pin the fabric up properly. So when I finally finally had the machine and fabric all ready to go I thought that I was on the home stretch. But for some reason it took another ONE & A HALF hours to actually get it all sewn up! I was actually sweating beads of sweat! Despite all the crooked lines and the slightly uneven finishing I was pretty proud of it in the end, but I definitely know now that there is no way I am meant to be a seamstress and that I will unfortunately never ever DIY anything involving fabric ever again.

So after all that you must wanna see what I actually got at the end of all that...


This is the before shot of our kitchen window with its boring vertical blinds. The kitchen was abit hard to get a shot of since our kitchen is pretty long and narrow.


The end result! Like I said before I am happy with the outcome but still not 100 percent satisfied, particularly with the colour. I'm thinking I need something abit darker to make it stand out abit more, the fabric from the Ikea showcase kitchen was a dark navy striped style.


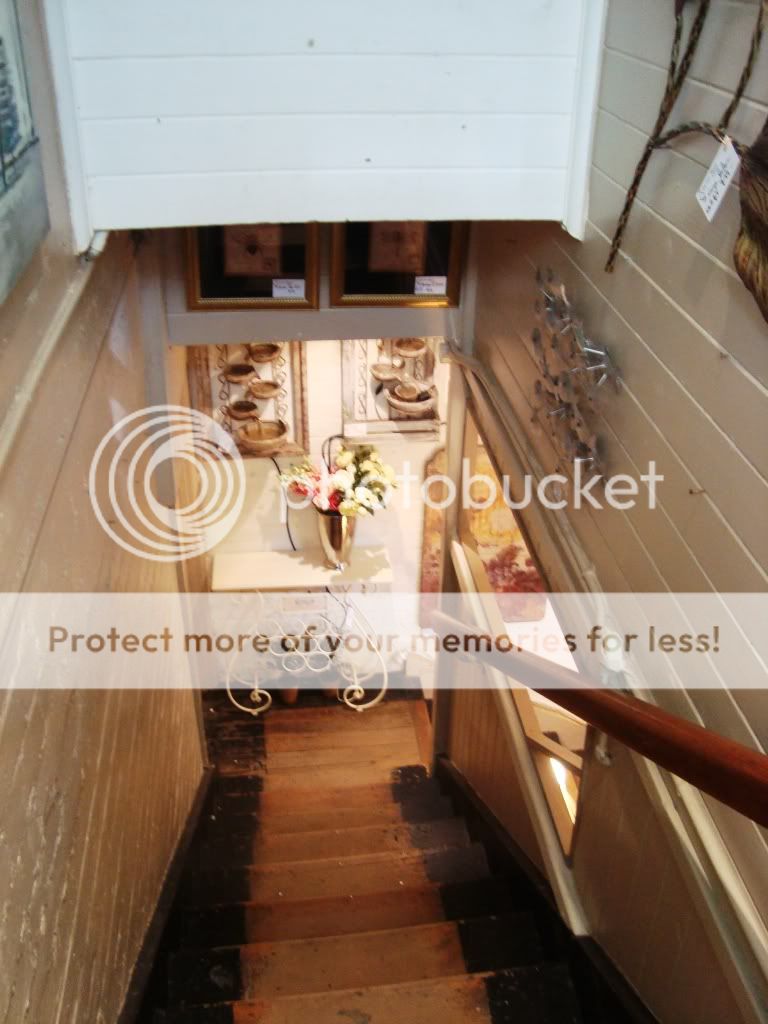
Just on a side note, here is one of my favourite parts of the house. My breadbox, straight from the Reject Shop, was something I'd been looking for so I was so excited to find one for $18! It was also the first piece that I painted white :) The Leksvik hooks are another Ikea purchase, while the napkin holder was another bargain steal - online this pretty little thing was around $20+ but I found one at my local homewares store for $10! Love bargains! Underneath the Leksvik hooks is my wooden step stool which I tried to include in the picture but I just couldn't get the angle right.

Anyhoo I think that's it for tonight, gotta get started on the usual preparations for the coming week (folding clothes arghhhhhh) but I hope every has an awesome Easter break!

Till next time!


Related Posts with Thumbnails